Getting my Vision AI DevKit Back Up And Running
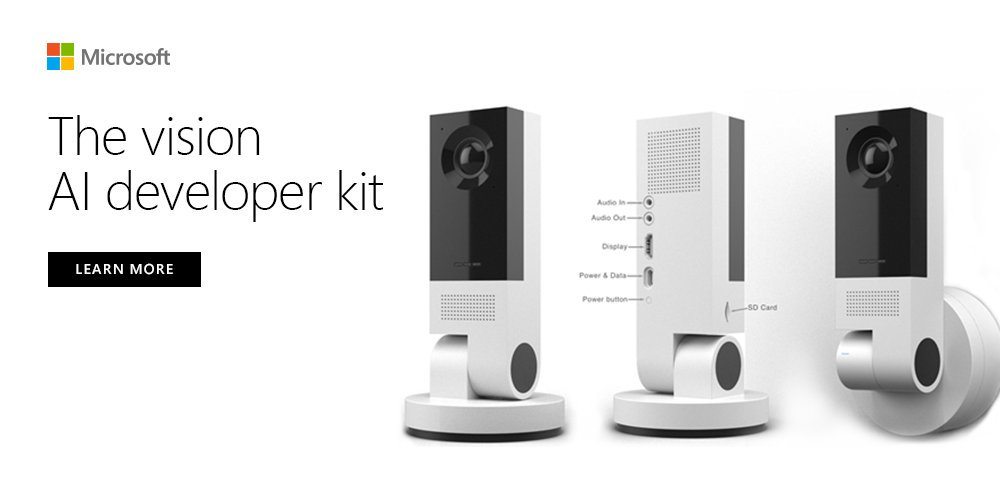
Since I failed terribly at getting my old Azure Sphere Development kit up and running as documented in previous blogs I decided to move on to my Vision AI DevKit. This has been a trusty workhorse for me in the past assisting with many demos. However, just like my other devices, I haven’t used this in a while, now I need to reset it and set it up again.
The process
The first thing I did was install the Android Debug Bridge (ADB). I used Chocolatey again to install this needed tool. The command is:
choco install adb
I wanted to note, that after I plugged in this device I got three green bars. Three green bars means the device is online and actually connected to an IoT Hub. I wonder which IoT Hub?
So just to be safe, I reset the device. To do this you hold down the power button for 5 seconds. This will set the device back to an Access Point mode.
This device is and has always been easy to work with. Resetting it is pretty much a breeze. Once you have the device in Access Point Mode you need to connect to it via WiFi.
The name of the access point will very, most of the time it is MSIOT followed by the last 6 number of the devices MAC address. ONce you have connected to the access point (the password is usually listed under the bottom of the device) we went to http://setupaicamera.ms.
I did this from my phone so my screen shots do not exist.
Once connected it will ask if you want SSH enabled. I enabled it on mine so I can do some remote management of it. It wll ask for the credentials you want to use as well as a password. Not secure key which is strange.
I also mark the box for Developer mode enabled. Why not?
Next we setup the WiFi the kit will connect to. You also have a opportunity to configure the Docker domain name server. I leave that blank.
Once the camera is connected and online it will give you a device code that you will use when you log on to your tenant on the next screen.
Once you are connected it will prompt you to accept the Permissions to access the tenant.
The last few screens are to setup the Subscription you will use as well as the IoT Hub you will connect to. Once this is done, you will need to give the device a name. At this point you will now see that your camera is downloading the Azure IoT Edge runtime. From this point on we can go and monitor the device from the Azure Portal.
Open the Azure Portal and go to your IoT Hub.
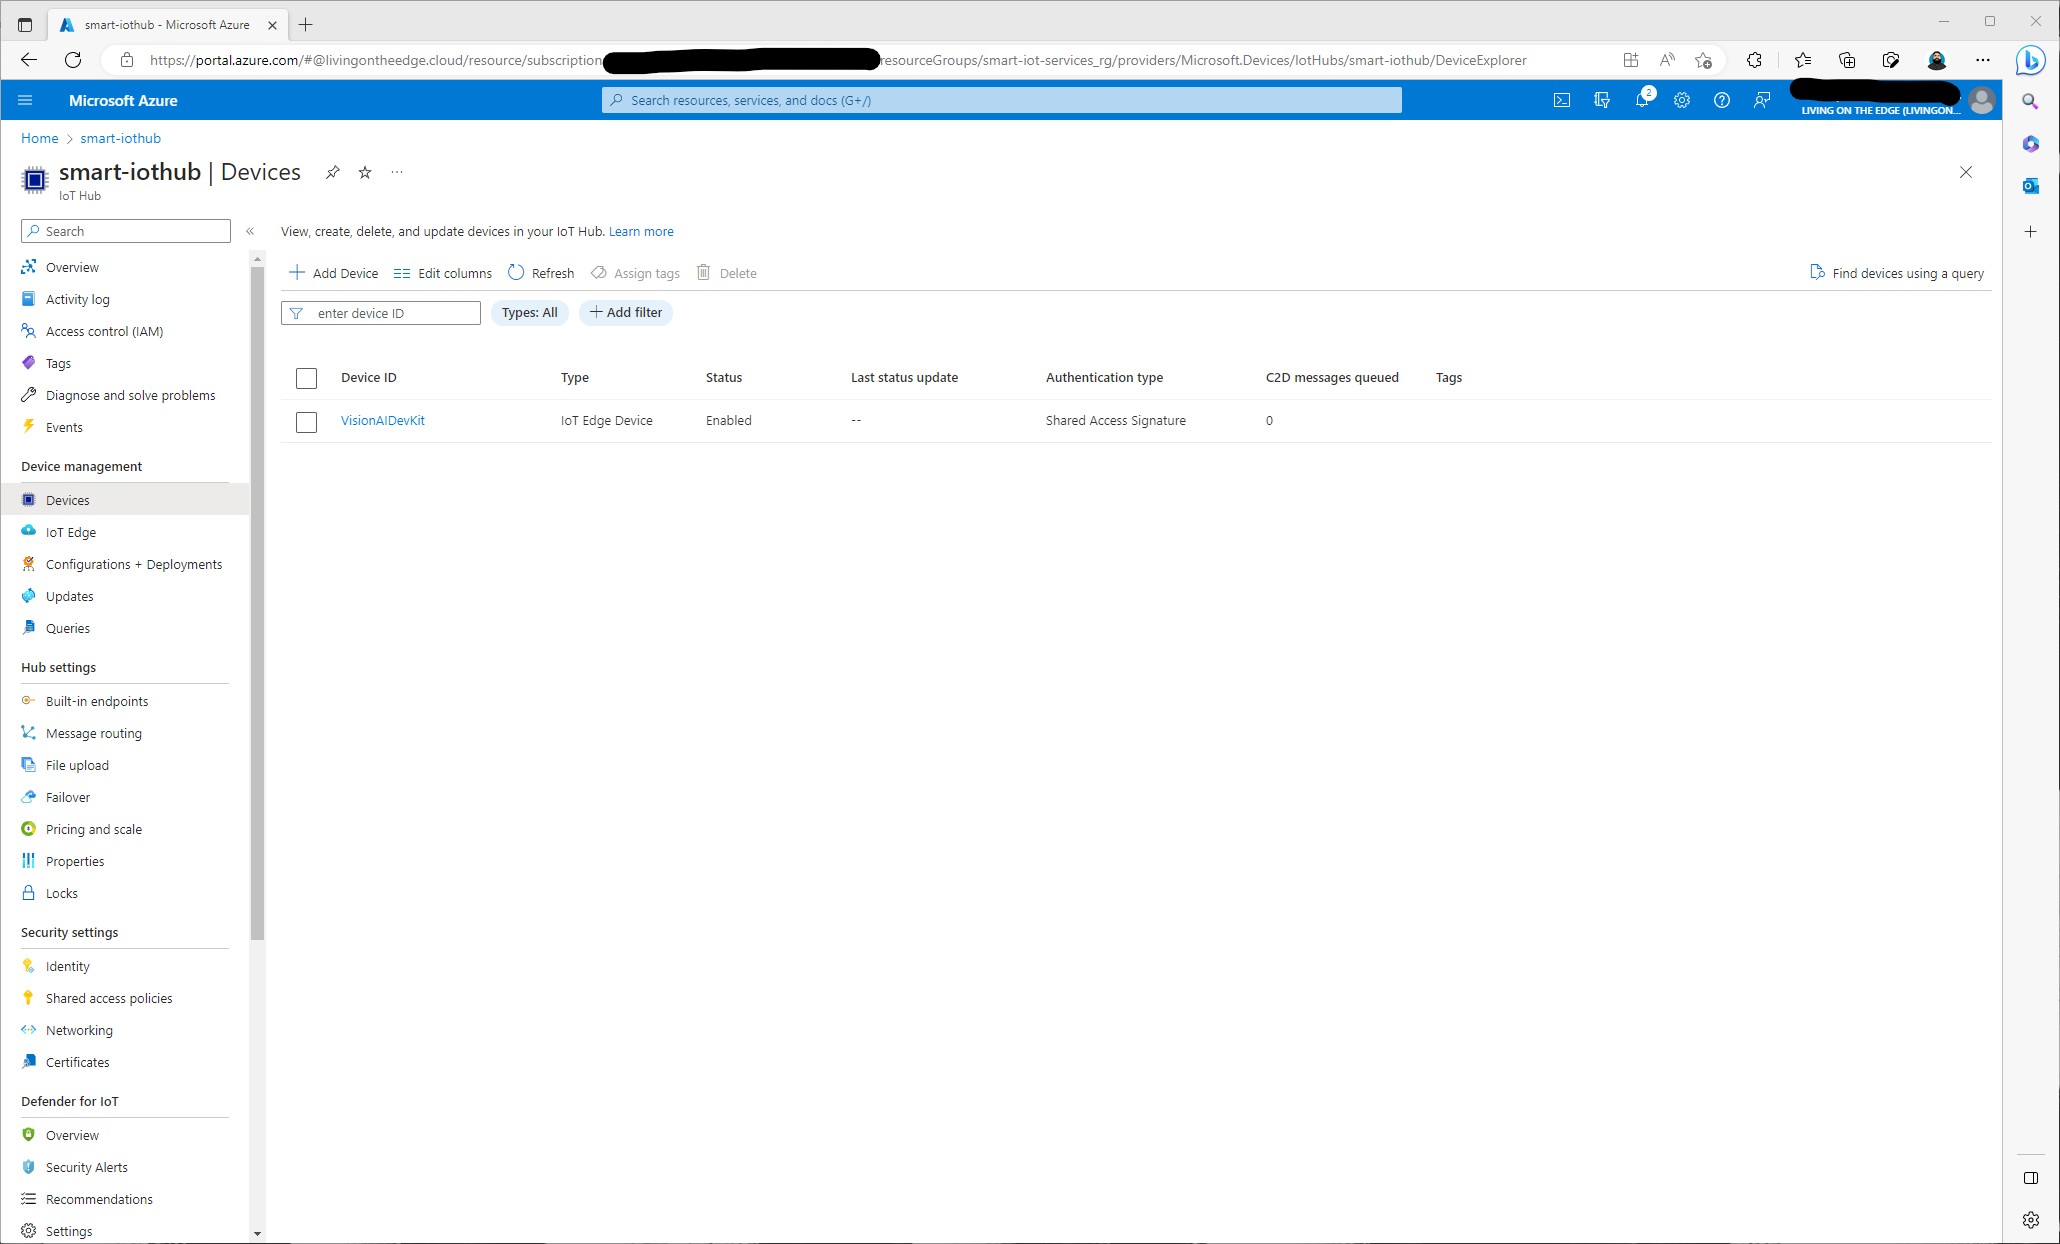
Click on Devices under Device Management. You should see the newly deployed device. The device will also show up under IoT Edge under Device Management as well. Click on the device to see the status.

We now have a working device again and I can start to deploy IoT Edge Modules to it for further demonstrations.
After a frustrating night with my Azure Sphere (Rock) Development Kit and learning that my Azure Percept devices are about to become rocks it is always nice to know I can still use this little trusty device.
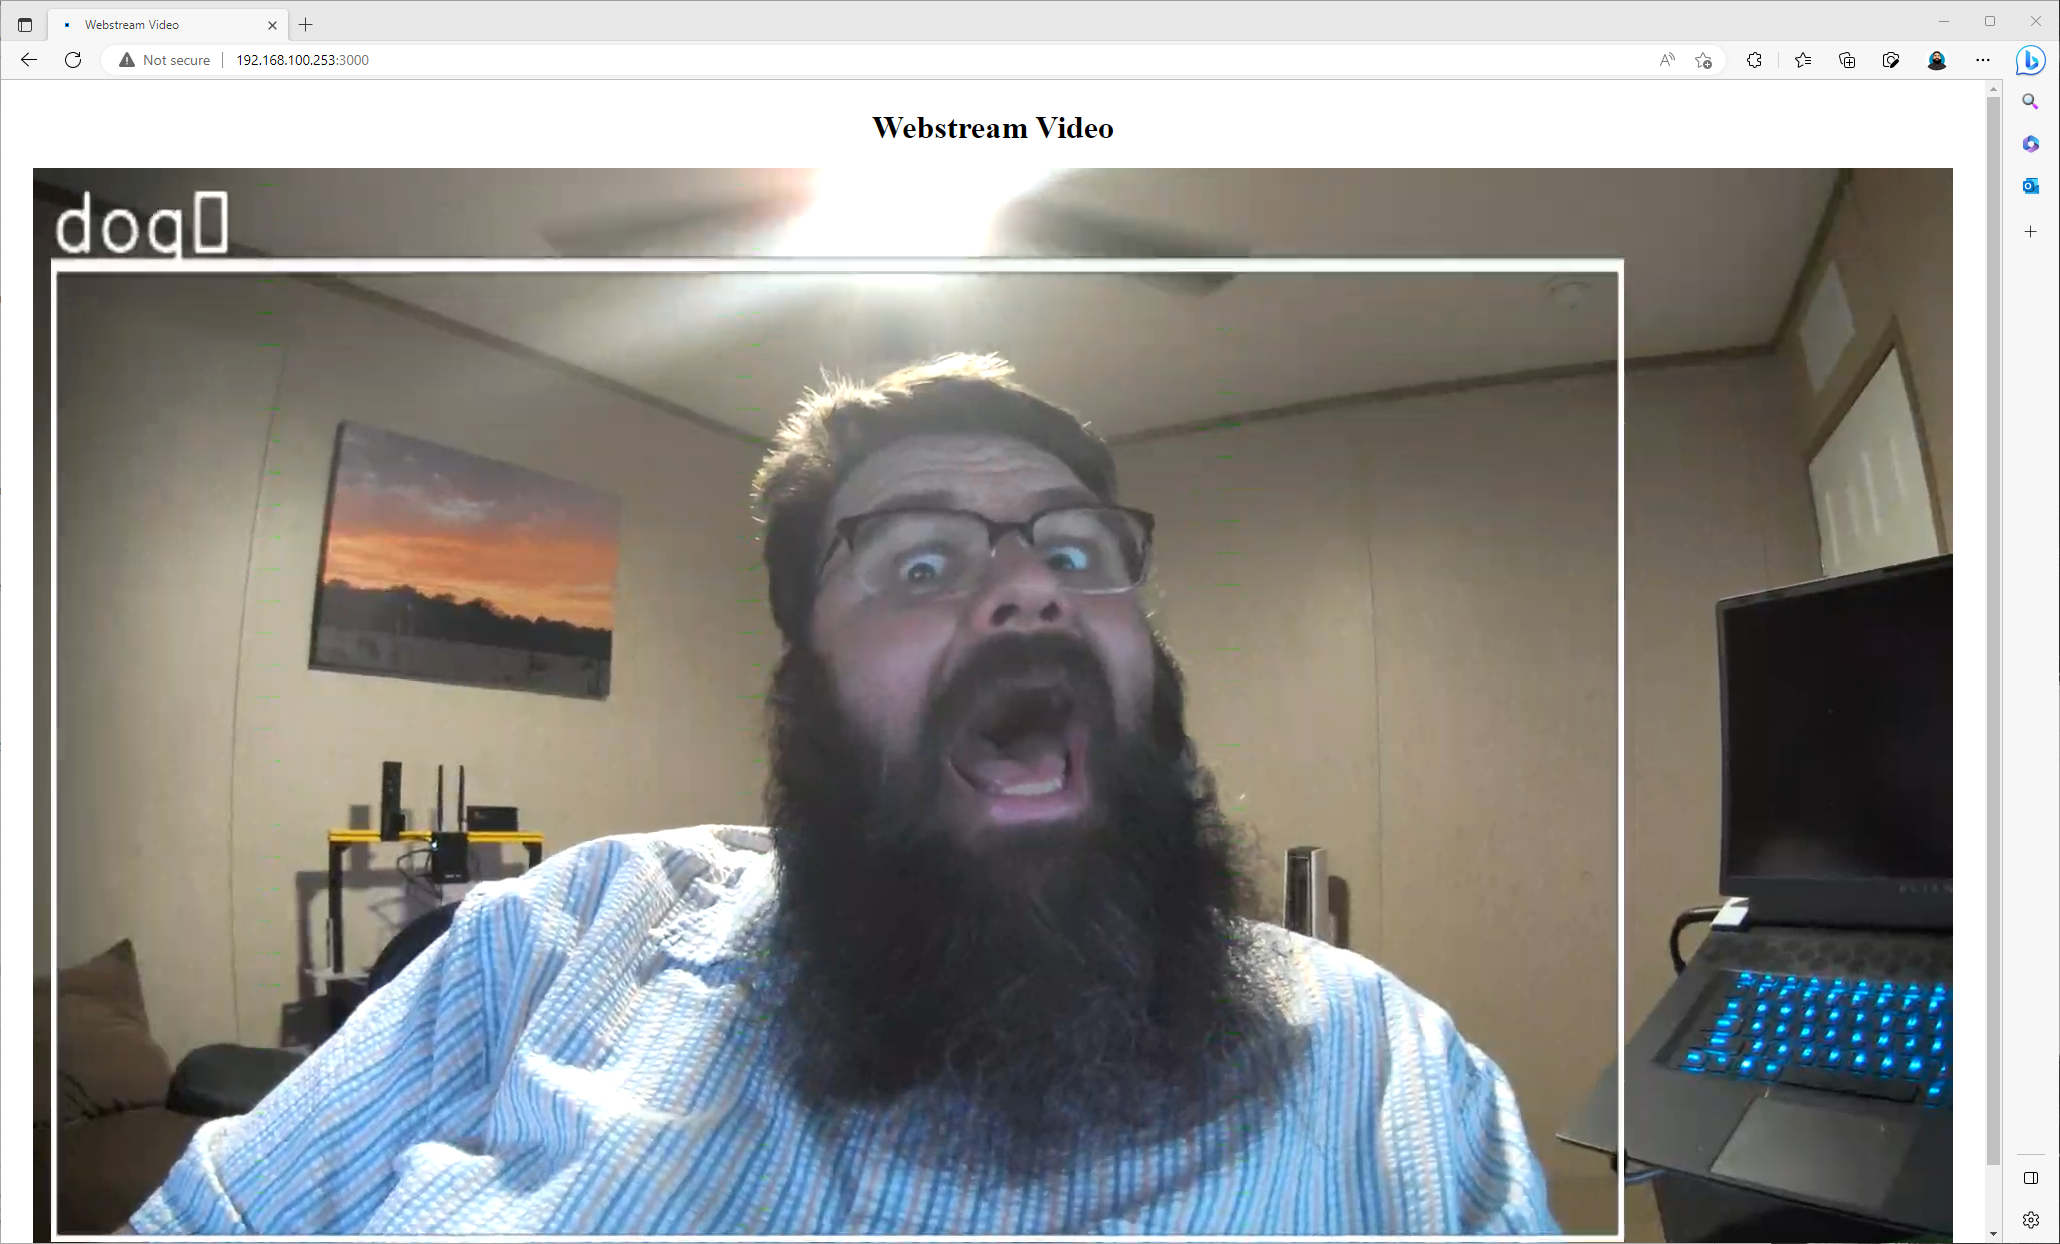
To test that the device is also working just go to http://IPADDRESS:3000 in your browser or in VLC.
I do think the AI needs to be trained a little more for this module…. a dog???? Well, I have been called worse. The worst is being called late to the dinner table…. (da dum!)