Deploy Home Assistant and My Home Automation Adventure.
Automating my home or at least trying to.
At MMS this year one of the sessions, in fact the very last session I attended was about Home Automation using Home Assistant. I have been itching to get started playing with Home Assistant but just haven’t had the time. However, I have a need now to do some home automation and now it has become important.
My Use case
I have a T9 Honeywell Thermostat at home that is connected to the Resideo app to control my A/C. I also have kids and a wife that can’t seem to shut the front door. So I need a way to shut off the A/C if someone leaves the door open for more than 1 minute or so. I also have some “Smart” fans in every room of my house. I put Smart in quotes because the app that manages them isn’t the best but I did read that there are ways that Home Assistant can control these fans as well. So my goal here, is to get window and door sensors that I can use to tell when a window or door is open, and if it is open for more than a minute, turn off the A/C. I don’t want to cool off the Texas heat this summer.
The Equipment
So for my little play experiment I purchased the following equipment. The following is the equipment I purchased:
- Dell WYSE 7020 Terminal with 4GB Ram and a 120 GB SSD on ebay.
- Aqarqa Door and Windows Sensor Kit
- SONOFF Zigbee 3.0 USB Dongle
The Installation
So I found a few sites and links on how to install Home Assistant on a WYSE terminal. Most of them were a bit older but between all of them and the information I read on Home Assistants web site on how to install the generic image I think I was successful.
First
- I downloaded XUbuntu.
- Then I downloaded Etcher for Windows so I can create the bootable drive.
- Next, I created the bootable drive using Etcher.
- ONce the bootable drive was ready I then moved over to the Dell WYSE Terminal.
- I booted into the BIOS Settings to configure the BIOS. We need to change the BOot Mode to UEFI. Then I changed the boot order to boot from USB and not the SSD. Finally I also turned on Auto Turn on so if a power loss it will turn back on.
- I then booted to the USB drive and started XUbuntu.
- Within XUbuntu, I downloaded the Home Assistant image.
- Within XUbuntu, I installed Balena Etcher for Ubuntu.
- From Balena Etcher, I selected the downloaded Home Assistant file. I tried to download from using a URL but it kept failing.
- From Balena, I selected the System Disk.
- THen I started to flash.
I would always freeze around 27%… but finally I just rebooted the terminal just to see what will happen. I had read some comments on some of the blogs of people having similar issues.
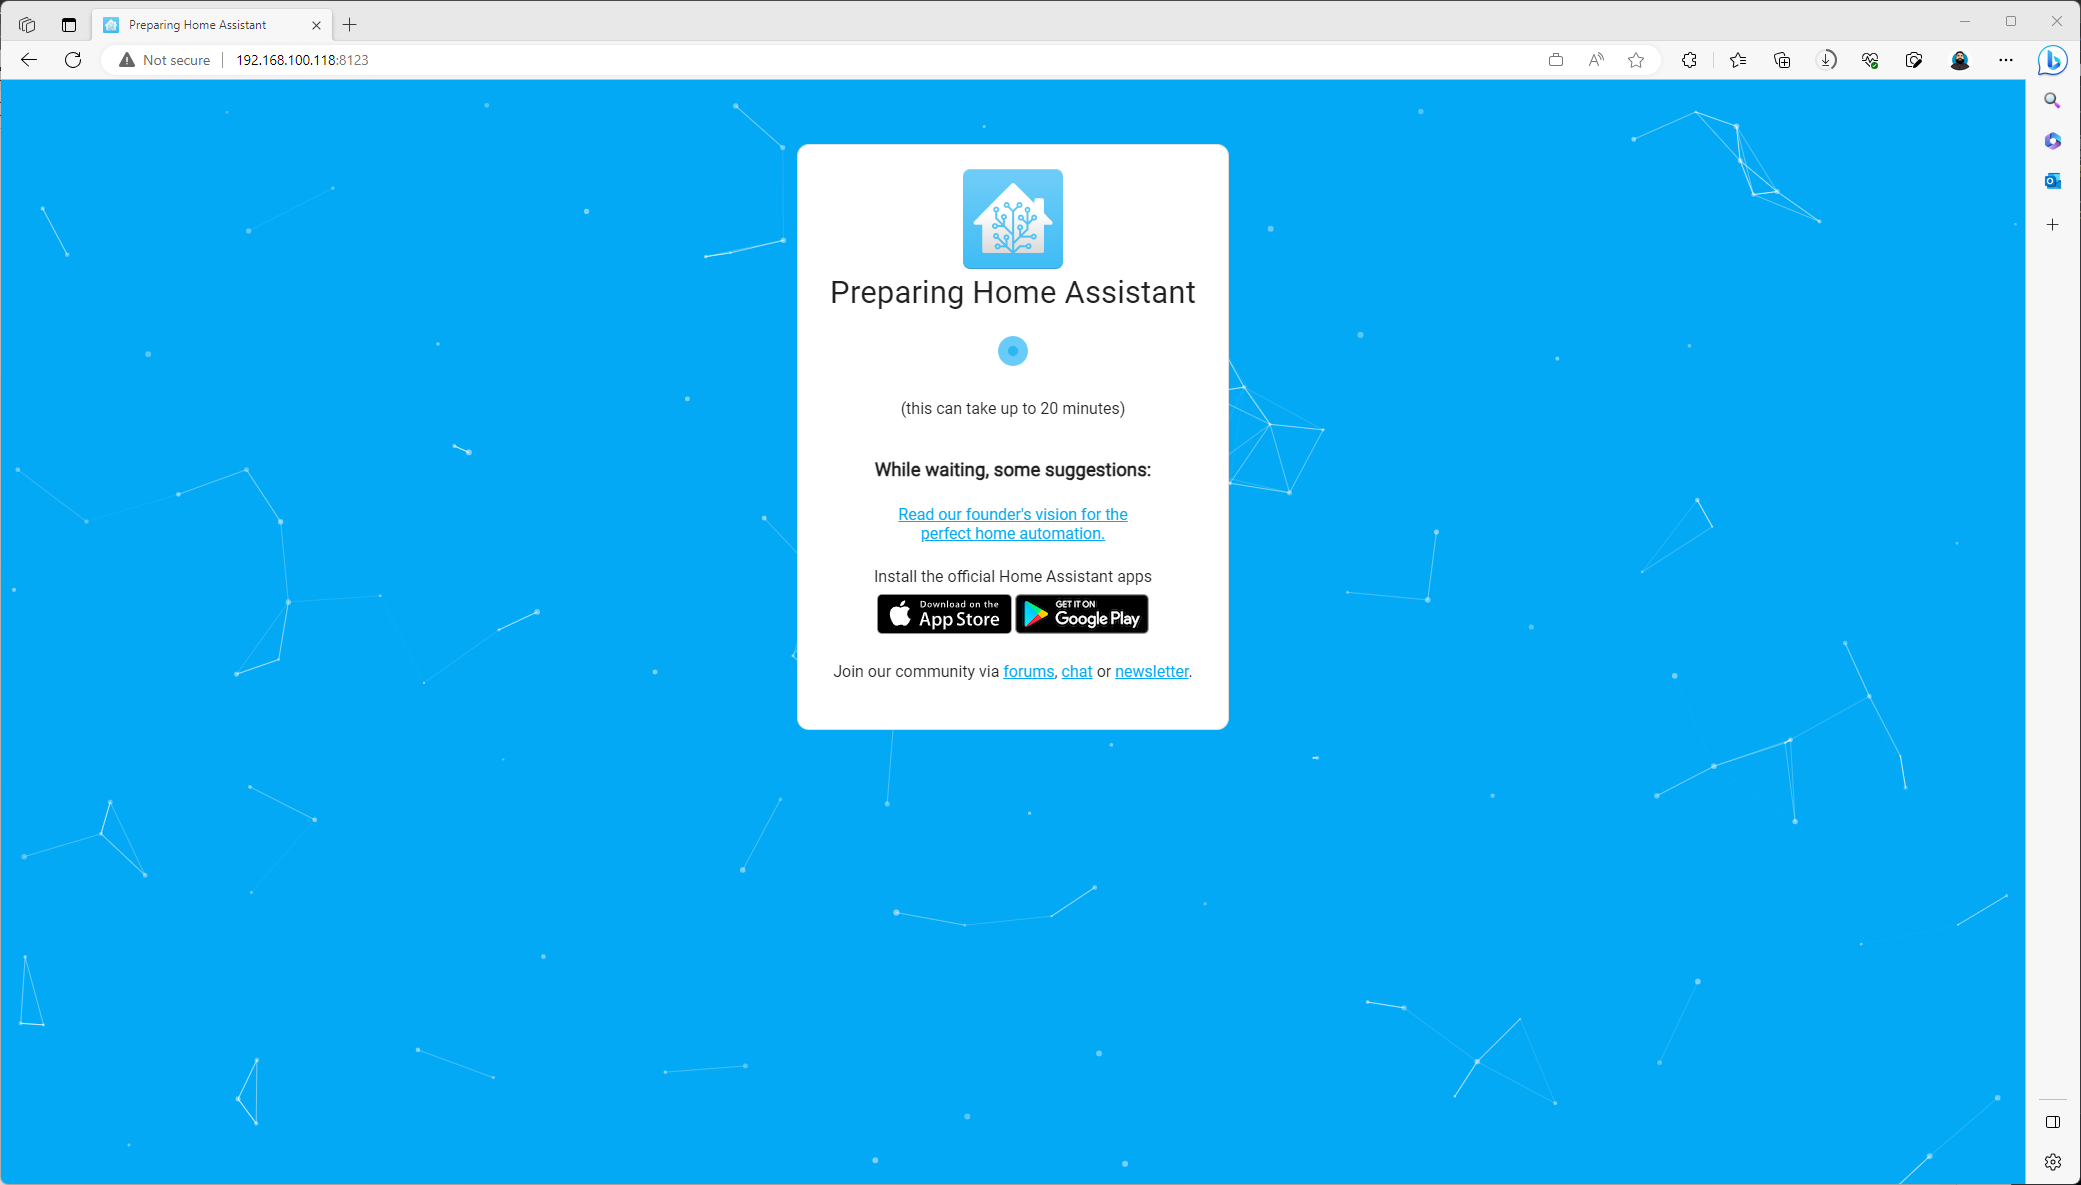
To my surprise it booted up into the Home Assistant image.
Bingo, Home Assistant is installed and almost ready for me to start my new adventure. My order for the Windows Sensors and the Zigbee comes in tomorrow sometime.
